This is specifically for Snapshots to work as the limit is 64TB per volume.
Further info on snapshots can be found here.
If you have data already on the storage that is already on the server that is near this amount, this will not work and the data will need to be offloaded to external and the RAID would need to be formatted to be able to perform this.
We recommend always having a backup of data.
1. Log into the server locally as the admin on the Windows Operating System. This cannot be done on a Mac unless you have remote access to the Windows UI.
2. Open Disk Management by right-clicking on the start menu icon on the bottom left. If you are running Windows Server 2012, drag your mouse all the way to the bottom left for the start menu to appear.
3. Locate the StorageGroup Volume you wish to shrink.
4. Right-Click on the volume (area with the colored bar) and select Shrink Volume.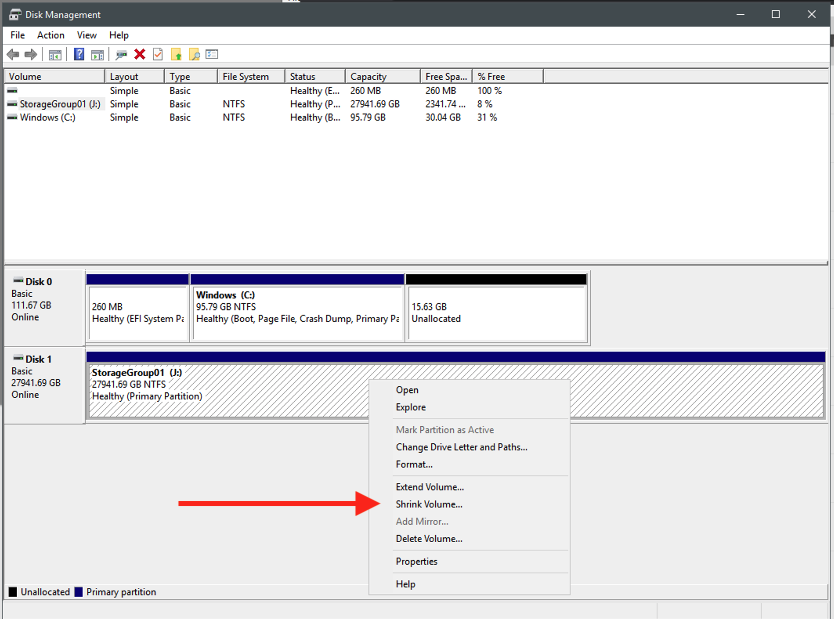
5. The Operating System may take time to calculate.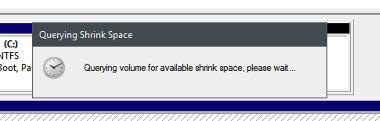
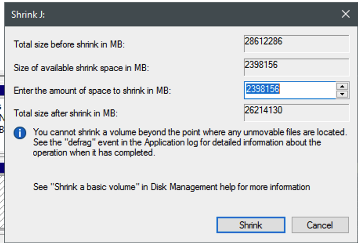
6. This example is of a 30TB StorageGroup so do not take in account of these numbers as this will not match a larger server. If you plan to shrink the volume to a size of less than 64TB, the number must be in MB. We recommend 60TB so in MB this will be 60,000,000MB.
Next Steps are to create a new Volume from Unallocated space if available.
1. Right-click the new unallocated space and Select New Simple Volume.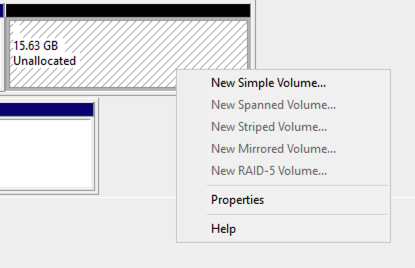
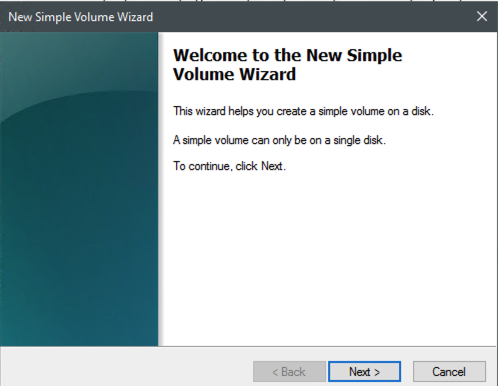
2. This enters the Wizard and click Next to continue.
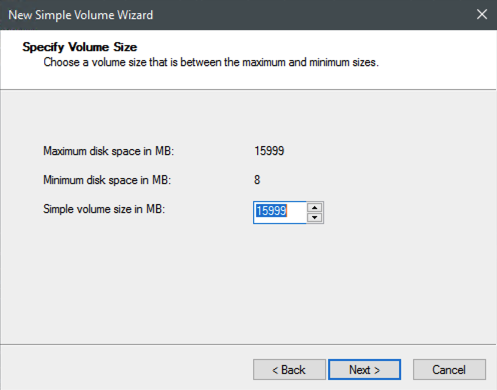
3. Example below is will not match your storage. If you wish to create a volume for Snapshots, you will need to do the number just like above or the remainder of the storage if it is less. Again, 60TB is 60,000,000MB. Do not take the numbers in the example below to be matching your server volume.
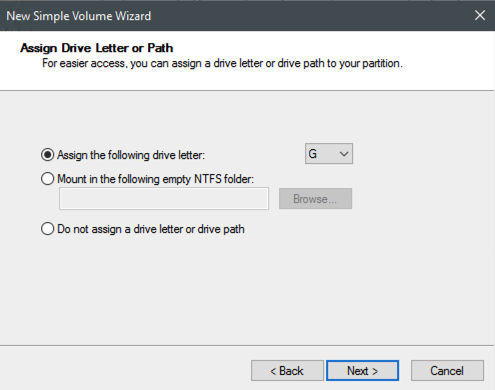
4. The Drive letter needs to be assigned. If you are ok with whatever letter populates, click next to continue. If you want a different drive letter, select the box and select a different letter.
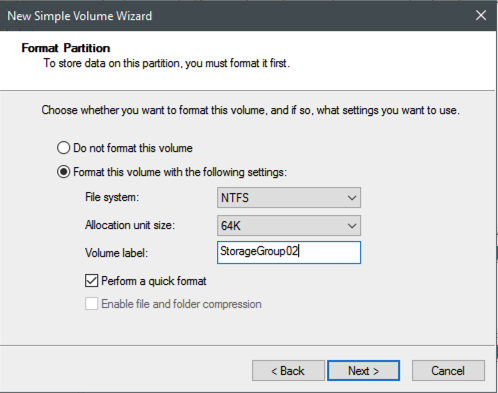
5. Set File System to NTFS.
Allocation Unit Size to 64K.
Volume Label is to what you want the storage to be called. Let's say you have StorageGroup01 and you want this to follow, then Name this StorageGroup02 or so forth. If you have StorageGroup02 already existing, use the next number or the next. It cannot be named a StorageGroup that already exists as a name. Once ready, Click Next.
6. When completed, go back to Platform and navigate to the StorageGroup tab and use the Scan for Attached Drives.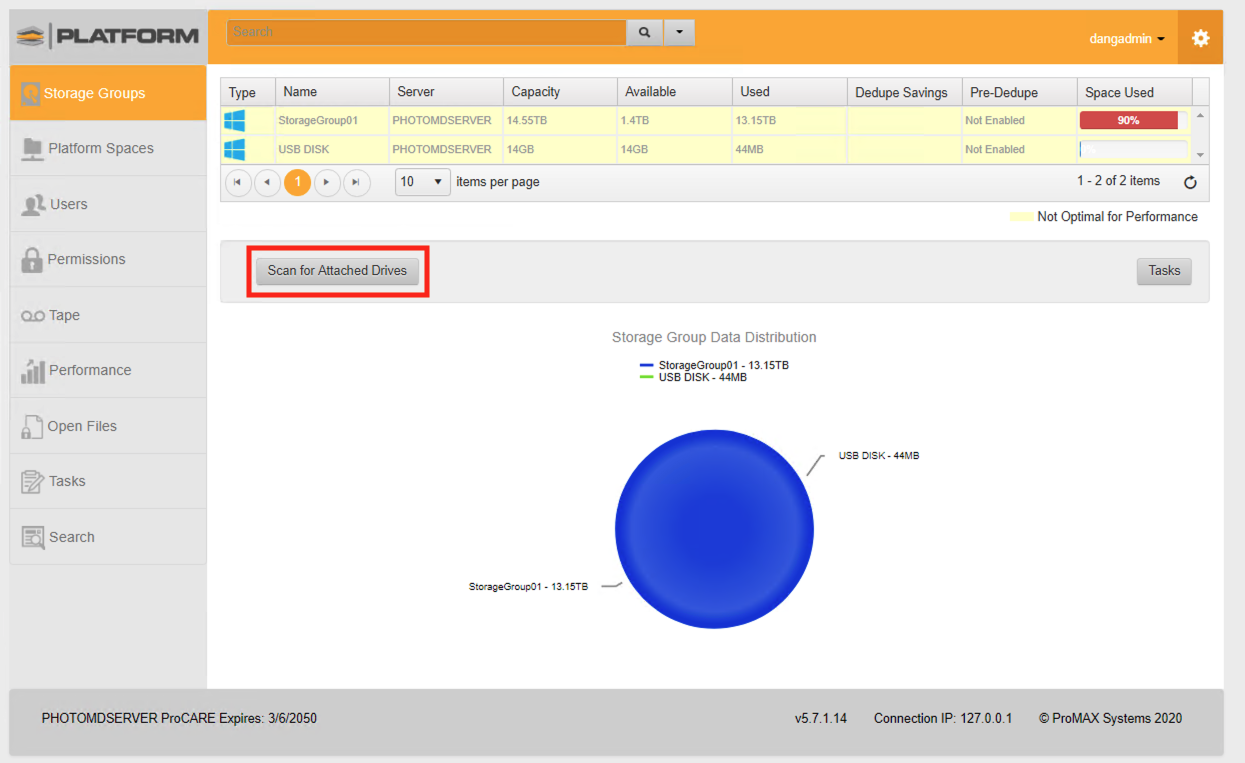
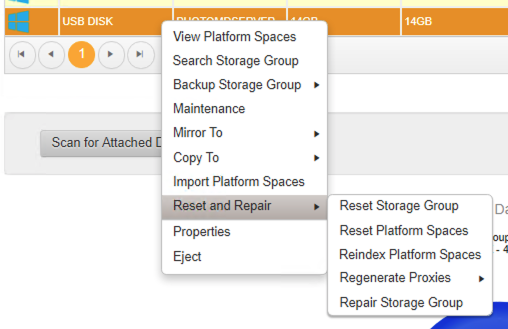
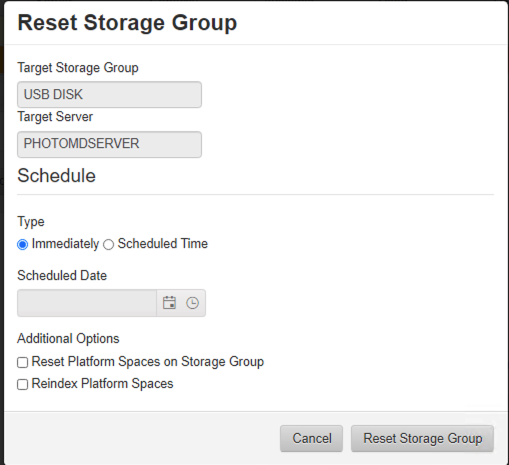
7. Right-Click on your new StorageGroup and go to Reset and Repair and Reset Storage Group.
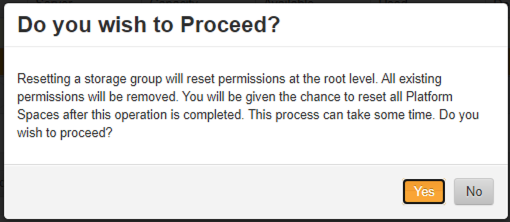
8. Click Yes.
9. Click Reset Storage Group.
If you are concerned on what a StorageGroup Reset does, see this article here.