Overview
Dropbox and Platform allow you to create a simple shareable Platform Space that team members outside of your local network can access easily and quickly to share data and projects. This article describes how to set up and use a Dropbox account on your Platform Server. Once configured, you will have access to a special Platform Space that syncs with your Team Dropbox account allowing other team members to selectively upload and download into this Dropbox enabled Platform Space and share data remotely from their workstations with simple drag and drop actions.
Setup Requirements
The setup requires a Platform system running v5.5 or above, and a Dropbox team account with at least one available account that will be assigned to the Platform system. You will also need to create a unique email address for your Platform account so that it can be included into the Dropbox team as a member.
NOTE: There are costs associated with creating and adding users to a Dropbox team. Users must create, manage, and pay for their Dropbox accounts independently of any ProMAX software or hardware.
Dropbox Software Setup
IMPORTANT: The following section should be done while logged directly into the Platform Server's own desktop either physically (with it's own connected monitor, mouse, and keyboard), or remotely via remote desktop as outlined in this article: How to access the Platform Server without a monitor.
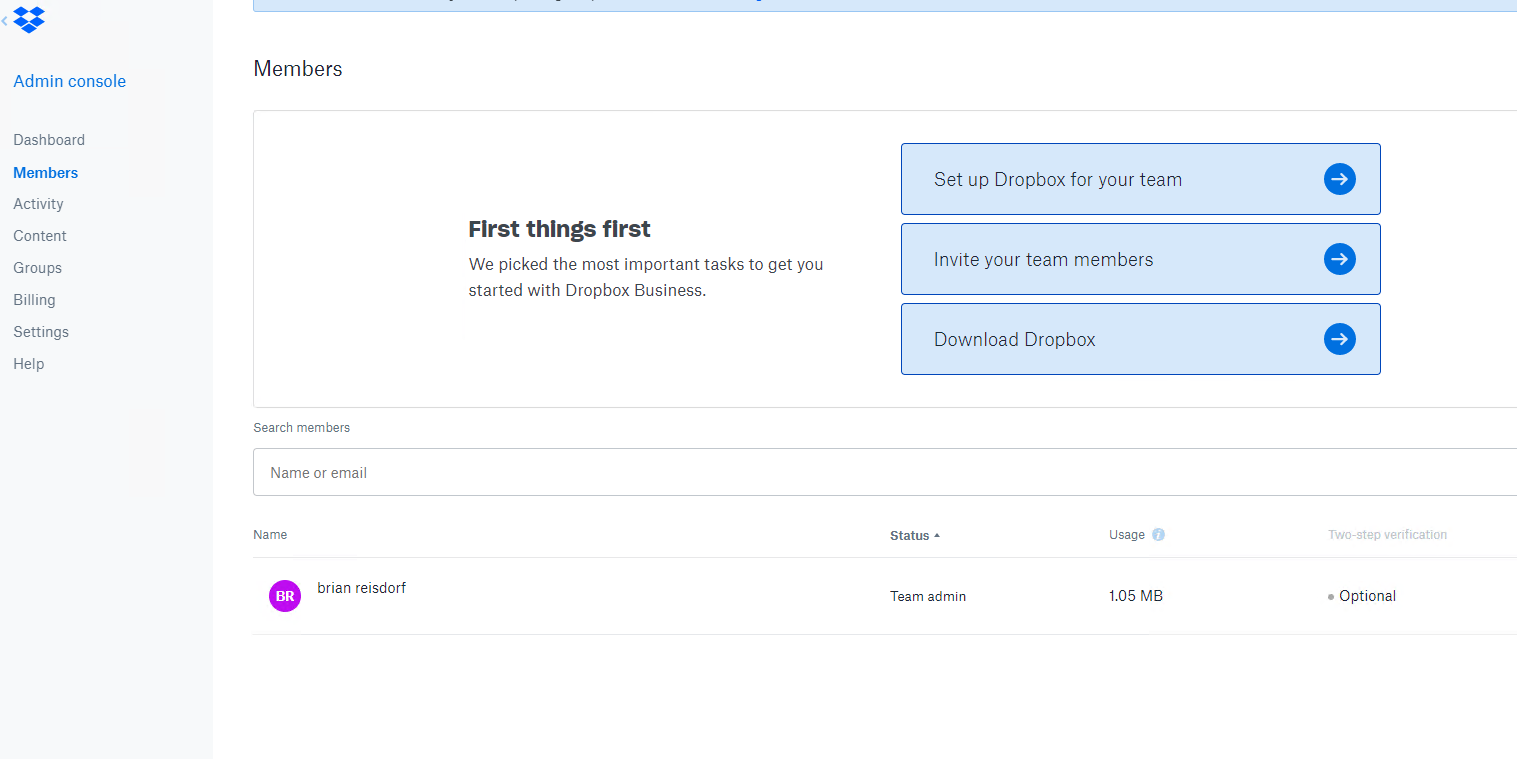
- Create a Dropbox Team account, or if you already have a Dropbox team created log into your Team dashoard
- Create a email account (if you don't have a specific email creation process for your company, a gmail account will work for this) that will represent the Platform server in your Dropbox team and invite that email to the team using the team dashboard.
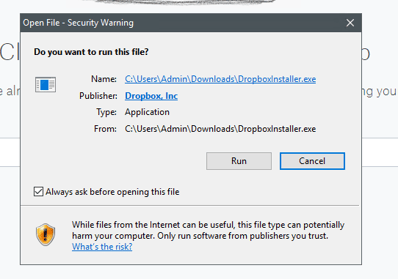
- Log into the Platform server account email and accept the team invitation and download the Dropbox Client Installer to the Platform system. Install the client software.
- During the client installation process, you will be asked how to sync your files, when setting up your Platform for dropbox access, ensure that your file sync setting is set to "Local".
NOTE: This is extremely important as Dropbox's Smart Sync function is not compatible when accessing data via a network mounted device like a Platform Space. You will be unable to access dropbox files via a workstation mounted to the Platform system if this is not set correctly.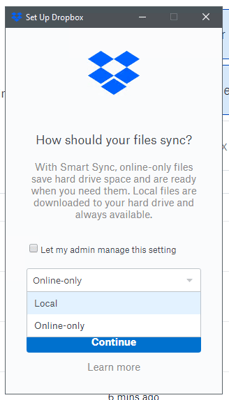
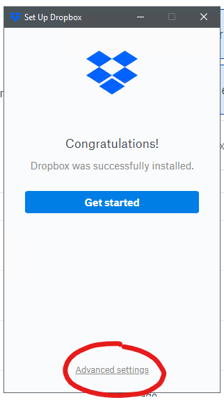
- Continue the setup and click on the "Advanced Settings" option at the bottom of the wizard.
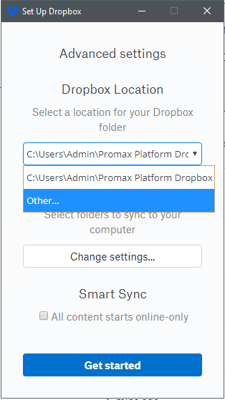
- Under location, select "Other".
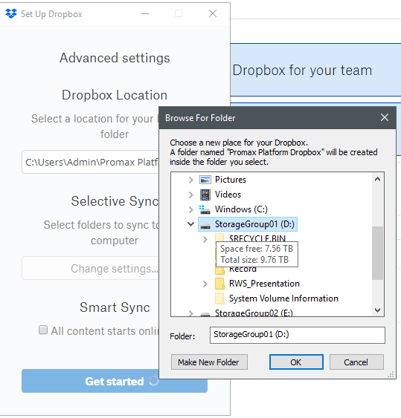
- Set the Location to the root of one of your StorageGroups and select "OK".
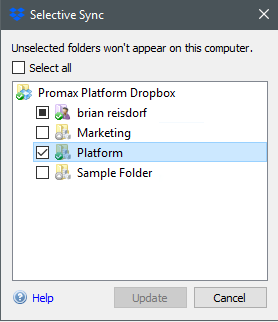
- Change the "Selective Sync" Settings so that all folders are unselected.
NOTE: You will not be able to unselect the account name.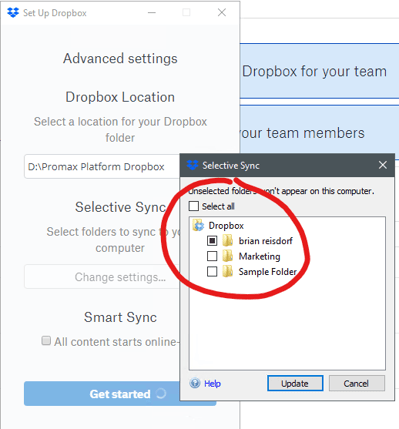
- Finish the DropBox client install process by following the remaining steps and selecting the default settings of any remaining options.
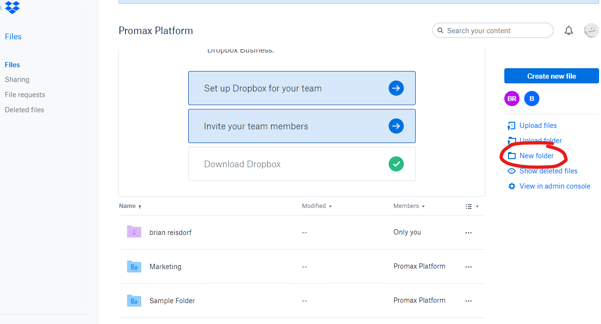
- Launch your Dropbox Team dashboard in your web browser and select "New Folder".
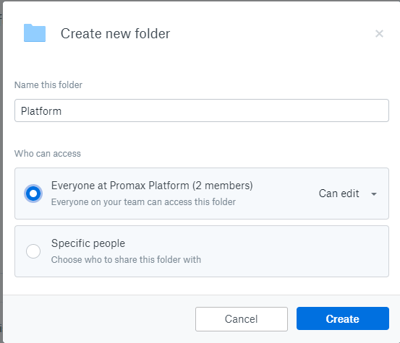
- Create a new Folder and name it "Platform". Set Permissions according to your desired group access needs. You can close out of the Dashboard when this is complete.
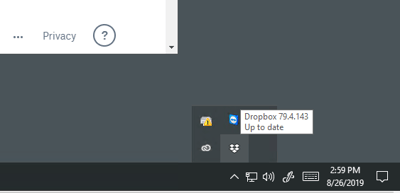
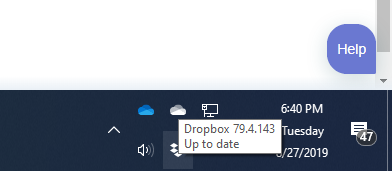
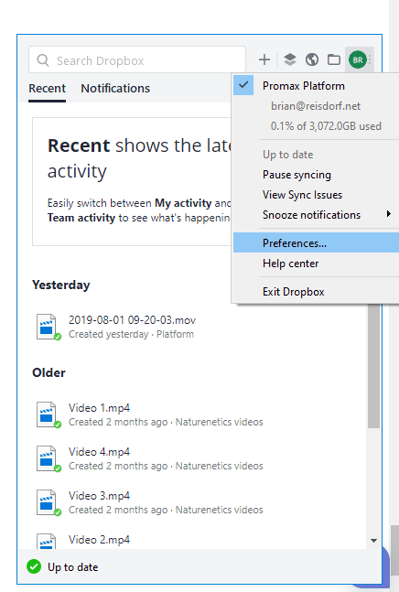
- Navigate to the Dropbox application in the system tray, left click on it to open the navigation menu.
- Select the Icon in the top right (should contain the initials of the account name), and select the "Preferences" option

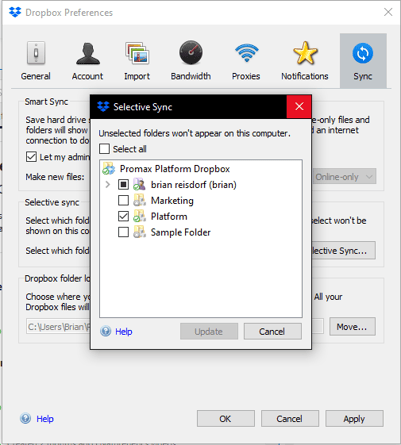
- Choose the "Sync" Icon on the top row, and press the "Selective Sync" button.
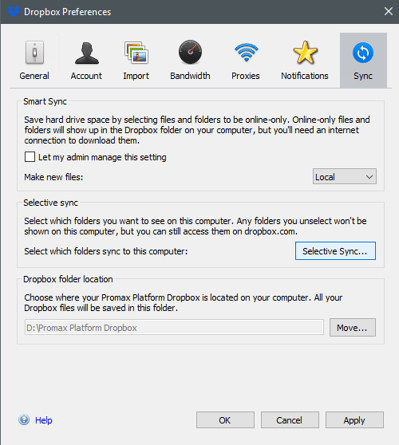
- Check the new "Platform" folder.
Platform Software Setup
- Login into the Desktop on the Platform server directly or via Remote Desktop using the Admin account and Password.
- Log into the Platform User Interface using any account with Platform Space admin privileges
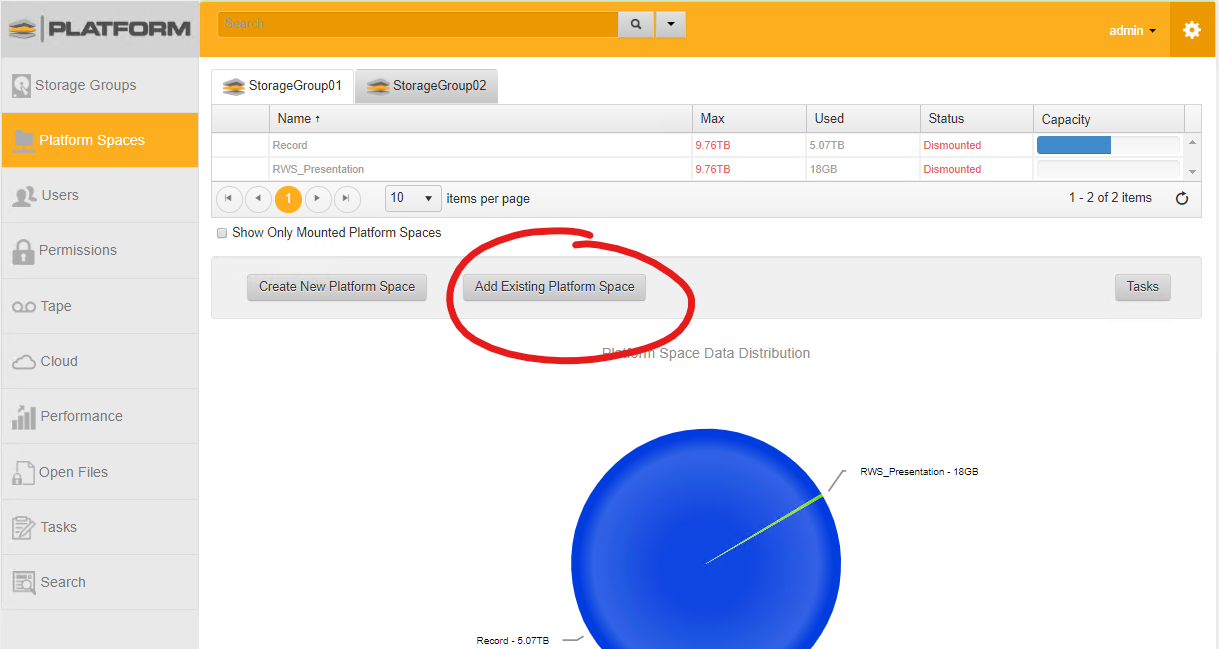
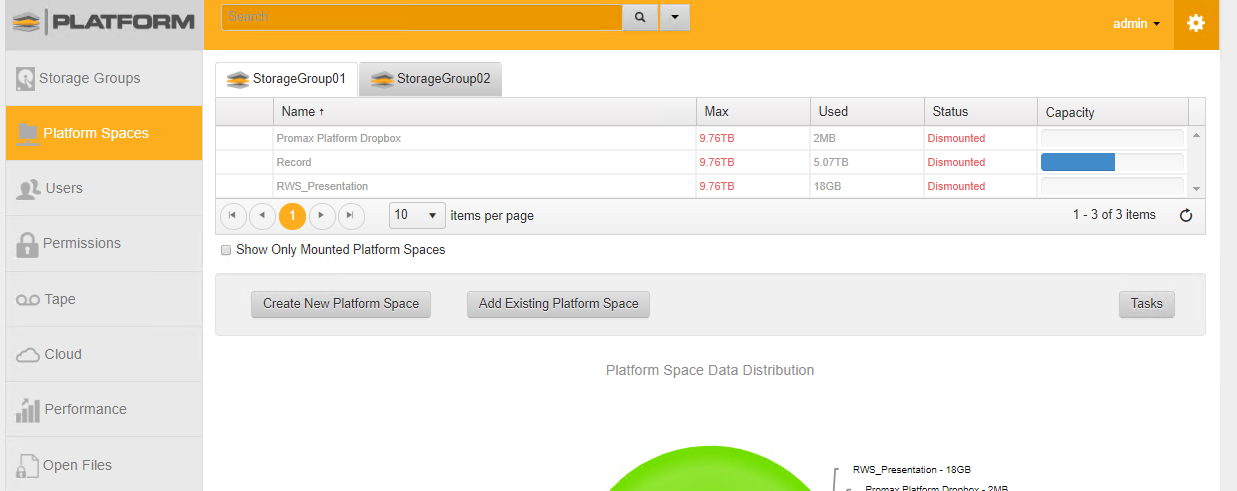
- On the "Platform Spaces" Screen, select "Add Existing Platform Space".
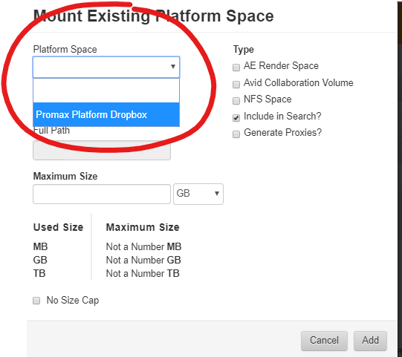
- Click the drop down list under "Platform Space" and select the folder with your Dropbox team name.
- Use the following recommended settings to finish configuring your new Dropbox Space and then press "Add".
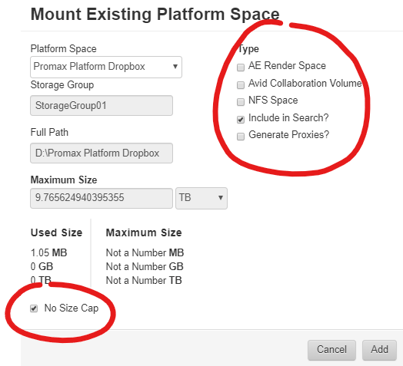
- After a few moments, your new Platform space will appear in your Spaces list and be available to mount.
Client Setup
You'll need to install the Dropbox Team client on all user workstations that will participate in your team. Once this is installed, they can access the Dropbox Platform space by turning on the "Platform" Folder in their Selective Sync Settings.
- Left click on the Dropbox Icon in your workstation system tray on Mac or PC.
- Select the "Preferences" Option from the menu in the upper right of the Dropbox interface.
- Select the "Sync" Icon on the top row of the Preferences menu, then press the "Selective Sync" Button. Check the "Platform" folder so the user can access the Platform Dropbox folder directly.
- Return to the "Sync" menu, and change the Smart Sync Setting to "Online-Only" for all client workstations.
NOTE: If this is set to "Local", you will automatically download ALL data from the Platform dropbox folder to your local workstation and will likely consume large amounts of Hard-drive space.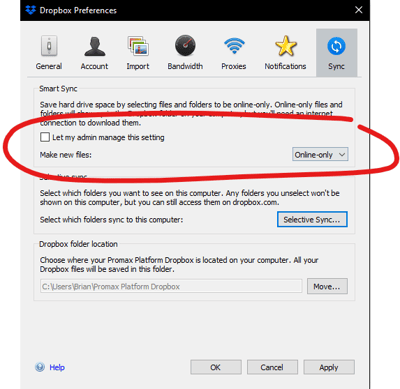
- This completes the setup for the Dropbox setup on the Platform system
How to use Dropbox and your Platform System
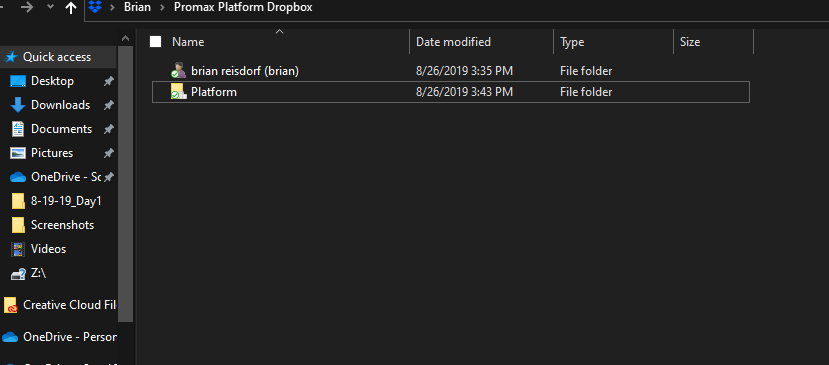
Now that you have a Dropbox Platform Space configured, and you have your workstations connected and the sync settings are correct, you can now access the Platform folder through your workstation file browser. You should see it appear in your Dropbox folder as "Platform".
You will now be able to open and drag files into that folder and have them be automatically uploaded to the Platform, where they will be indexed for search and available for anyone with access to the Platform Dropbox Space.
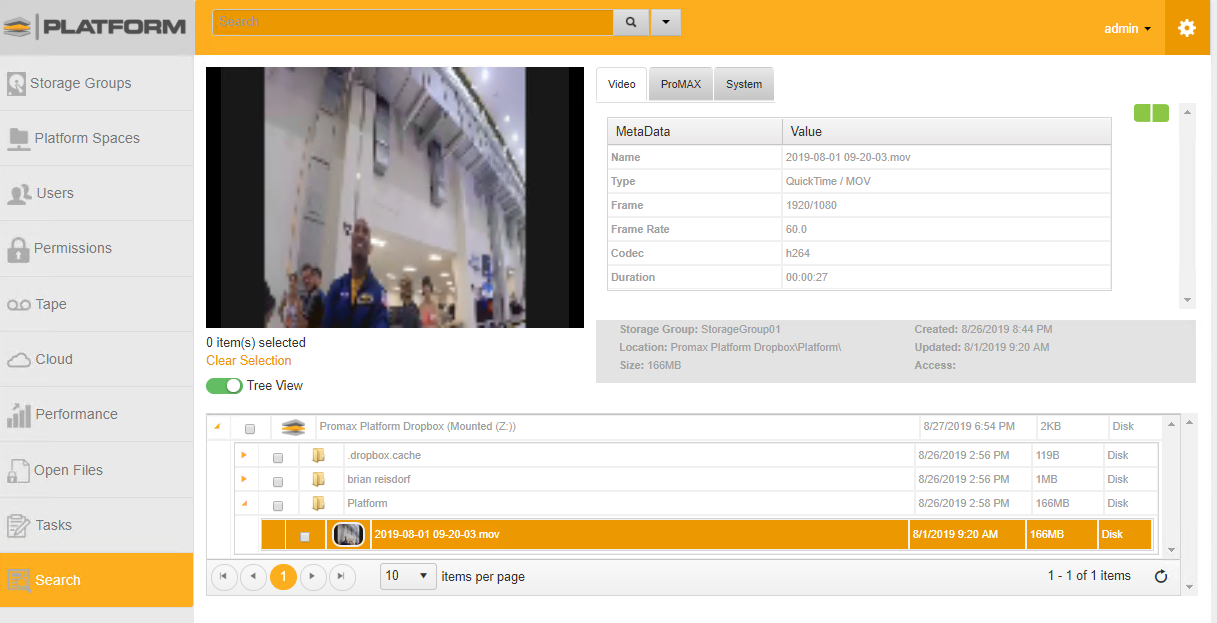
Likewise, any data placed directly into the Platform Dropbox Space on the Platform system itself (via mounted clients on your internal network) will become available for download on all client workstations that are a part of the dropbox team. Because the clients are set for online-only smart sync, they will see all files on the Platform Dropbox folder, however their workstation will only download files they actively request, allowing them access to large amounts of files on the Platform system without filling their workstations.
Using this functionality, local users can easily stage data for remote user to download via the dropbox folder onto their workstations, and remote users can upload data from their remote systems directly into the Platform system where local users can access it.
Working with a cloud sync Dropbox space
- The Platform Dropbox space will take the name of your Dropbox Team, this cannot be changed.
- Do not work directly from the Platform Dropbox Space, use it for staging and receiving file transfers from outside users. Once data is confirmed to be sent or received, move it to its own Platform Space or working folder on your local workstation.
- Editing directly from the Platform Dropbox Space may result in your system attempting to upload hundreds of temporary and preview files. These will upload to Dropbox automatically and consume space and bandwidth, as well as cause organizational challenges.
- If you want to ensure that the Platform Dropbox Space does not exceed a certain amount of dropbox storage, you can set a size limit on the space equal to your desired dropbox storage limit.
- Do not use a sync space as long term storage. Anything you place in the space will be sync'd to cloud provider, and you may incur costs from the cloud provider or space limits based on how much is stored there.
- Be aware of your bandwidth. It's very easy to move 500GB of files into a Platform space from a local network source, but it may take a day or more to transfer to the cloud for anyone else to access. This will will depend on your bandwidth to the internet.
- Consider access and visibility. Anyone that has access to your cloud account will have access to things placed in this space, regardless of the permissions you set on the Platform Space that's syncing. If you need to keep something confidential, consider a different means of transfer.
- It is not recommended to enable the following features on a cloud sync space
- Proxies
- Transcode
- Avid Collaboration
- AE Render Space
- The best use of a cloud sync folder is sharing smaller files with users outside the local network. Compressed deliverables, dailies, smaller types of files like lower-third graphics, NLE/graphic project files, and documents among post production team members.
- In general, do not use it to transfer bulk raw media offsite editors. There are exceptions to this where the media is small and available bandwidth on both sides is high, however in most cases bulk raw media (a collection of camera cards from a shoot, for example) is far too large for reliable and timely transmission via cloud sync today. Consider sending bulk raw media to offsite users via shipped HDD as it will likely arrive faster than a cloud sync under normal circumstances.