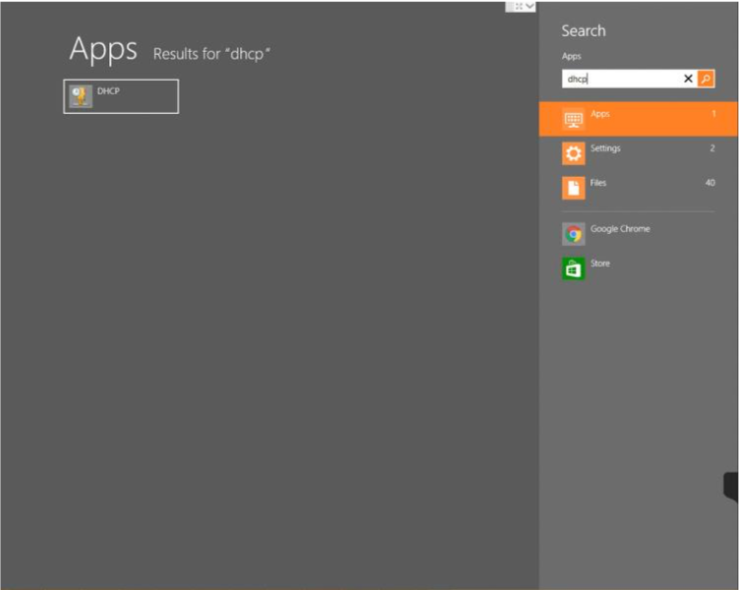
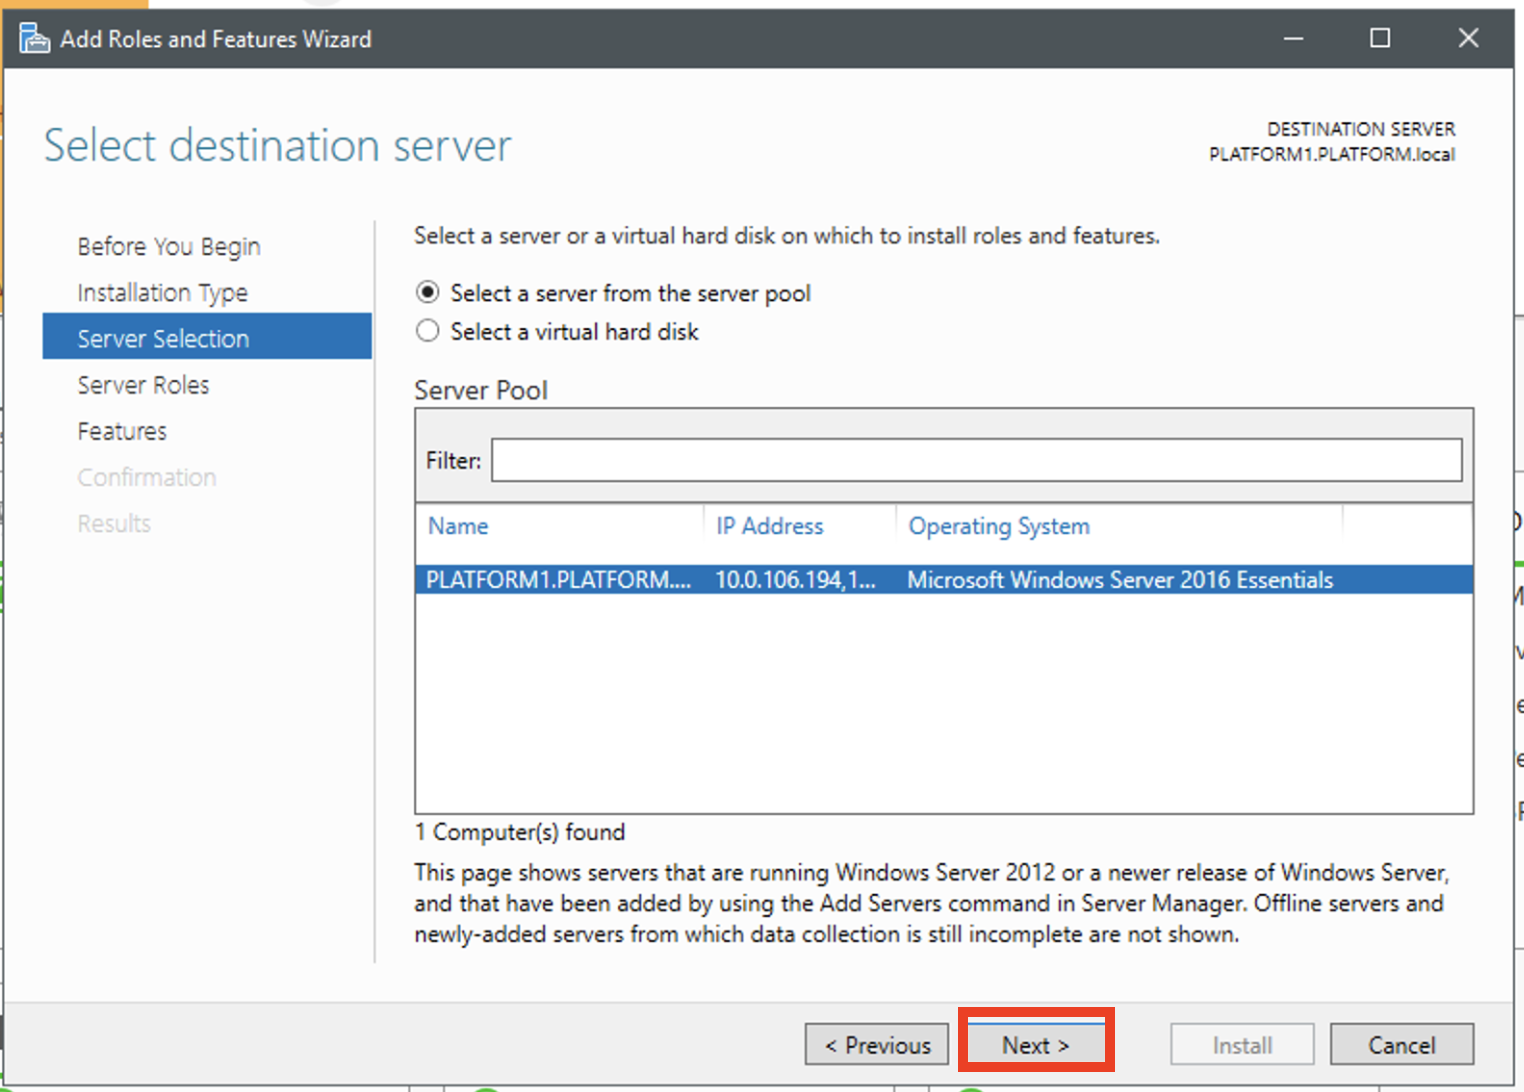
1. Open up DHCP (Start menu and type dhcp). You will also want to open network and sharing center(Start menu and type ncpa.cpl), as this will give you the list of network connections that will need to have a DHCP scope set up for them. If DHCP is installed skip to step 2. If DHCP is not on the server, continue with the 1a.
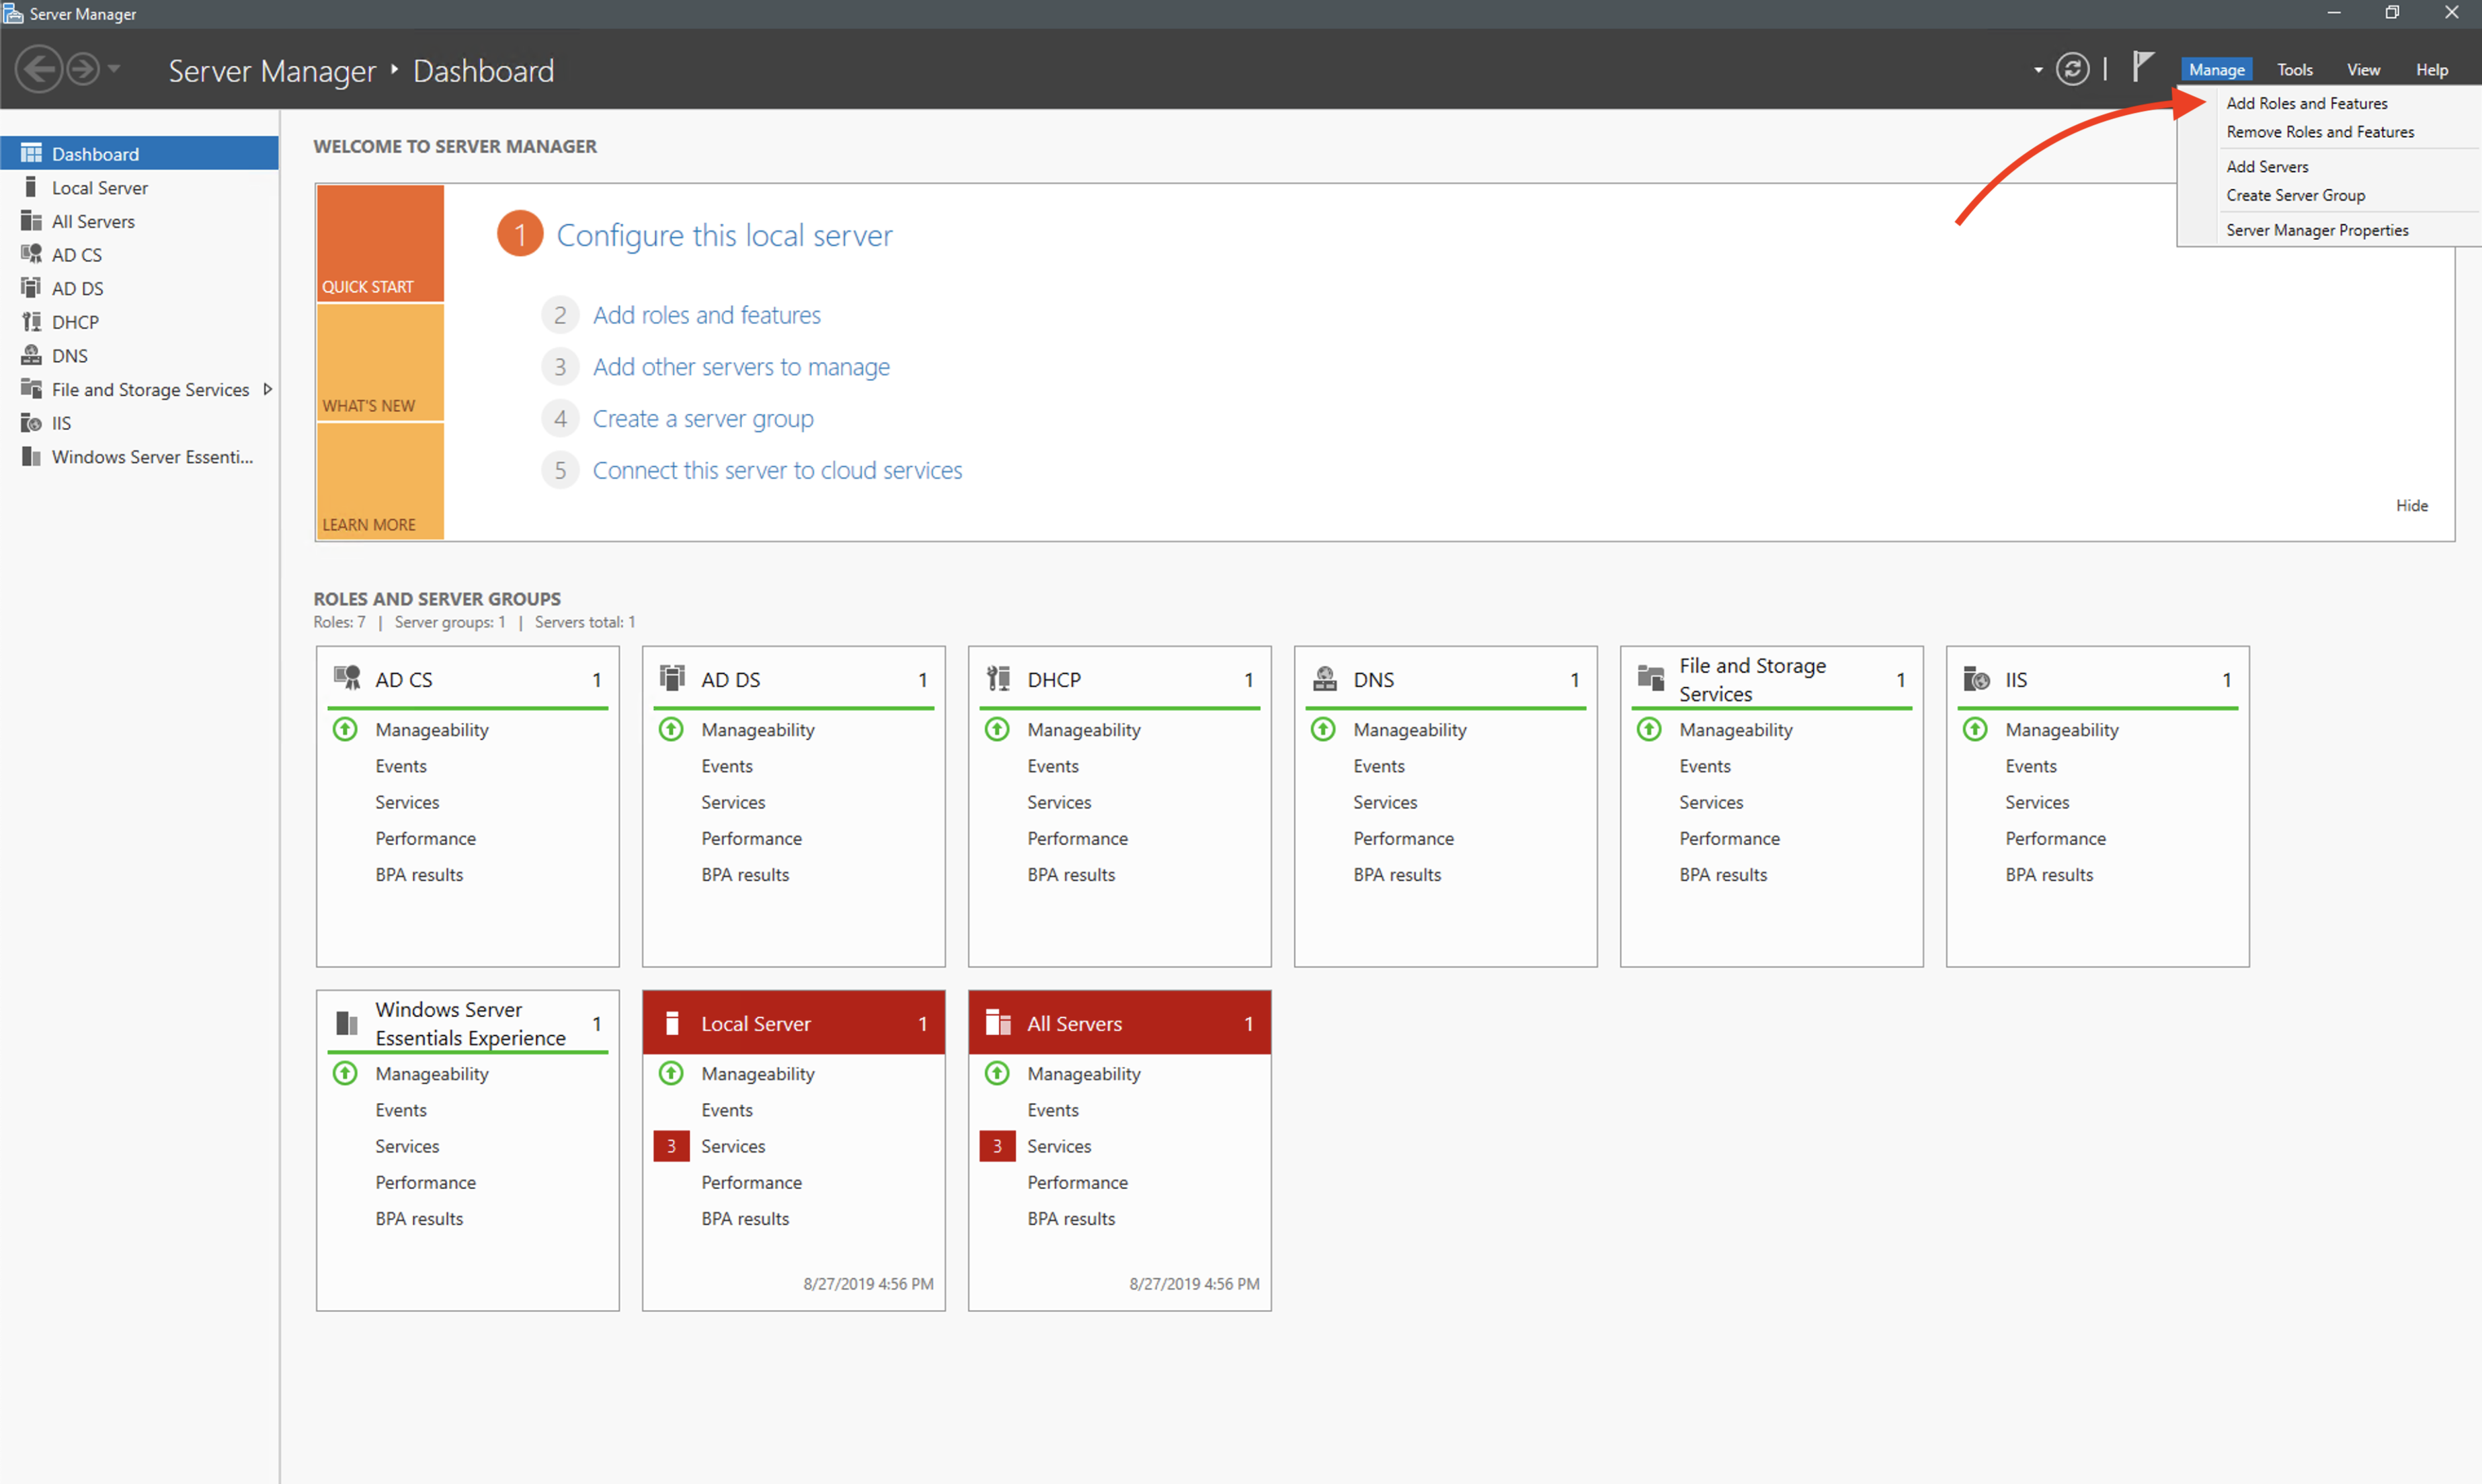
d.) Select 'DHCP Server' and click next.
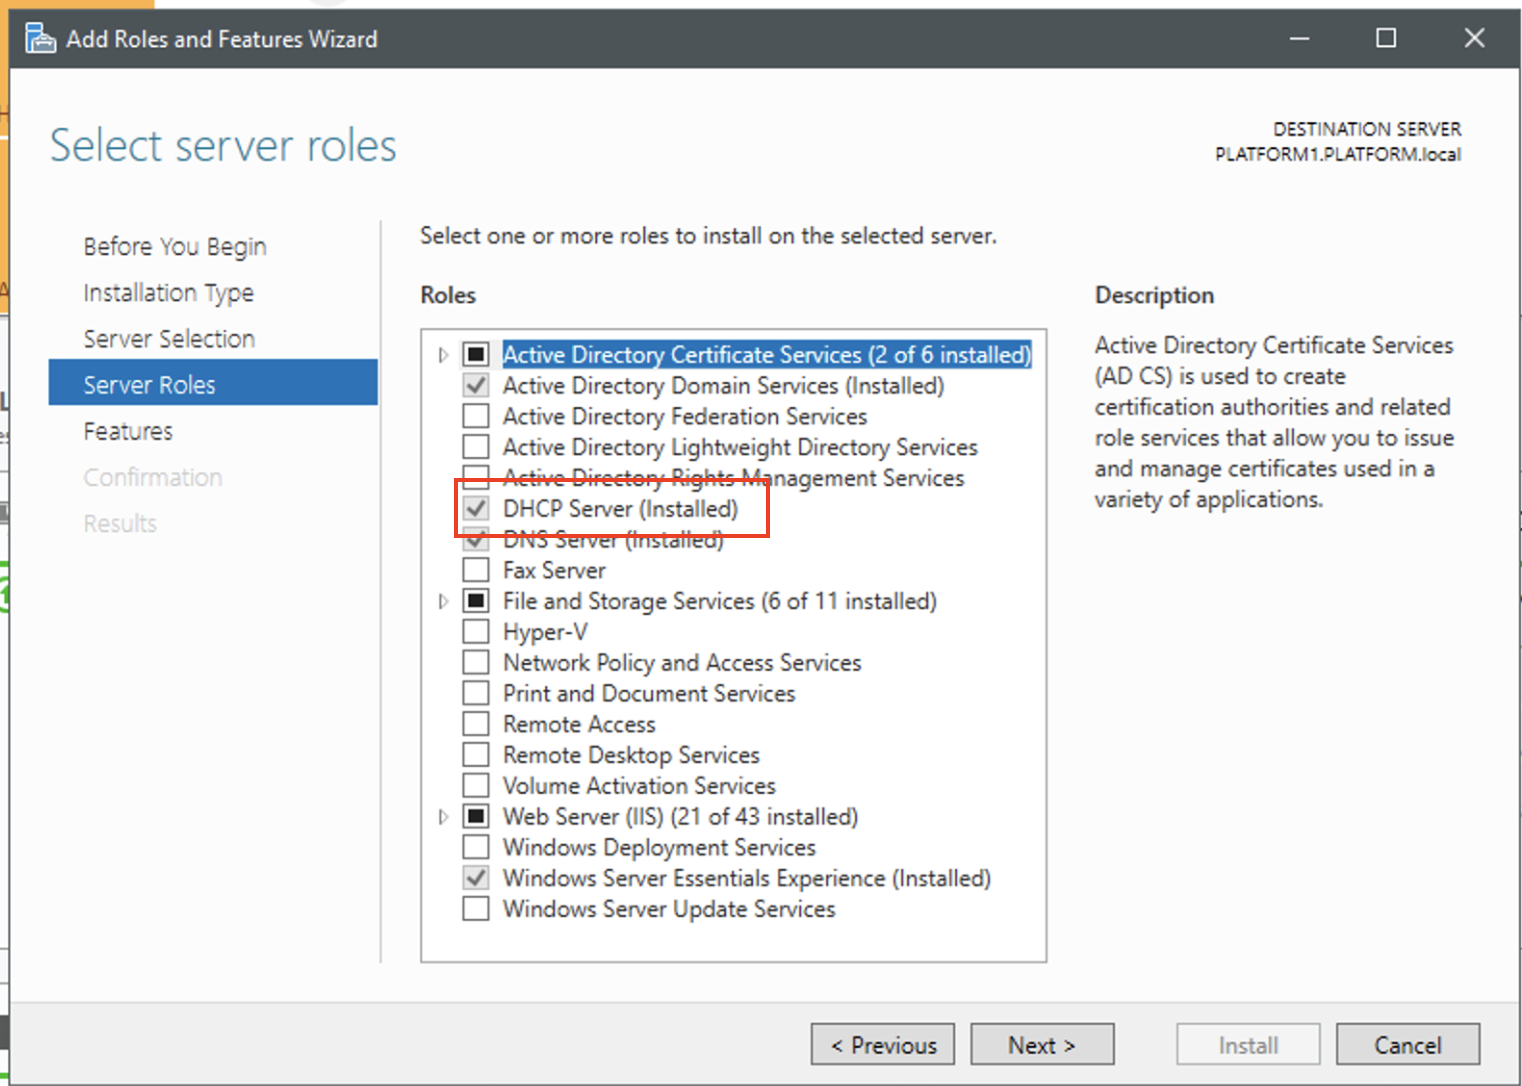
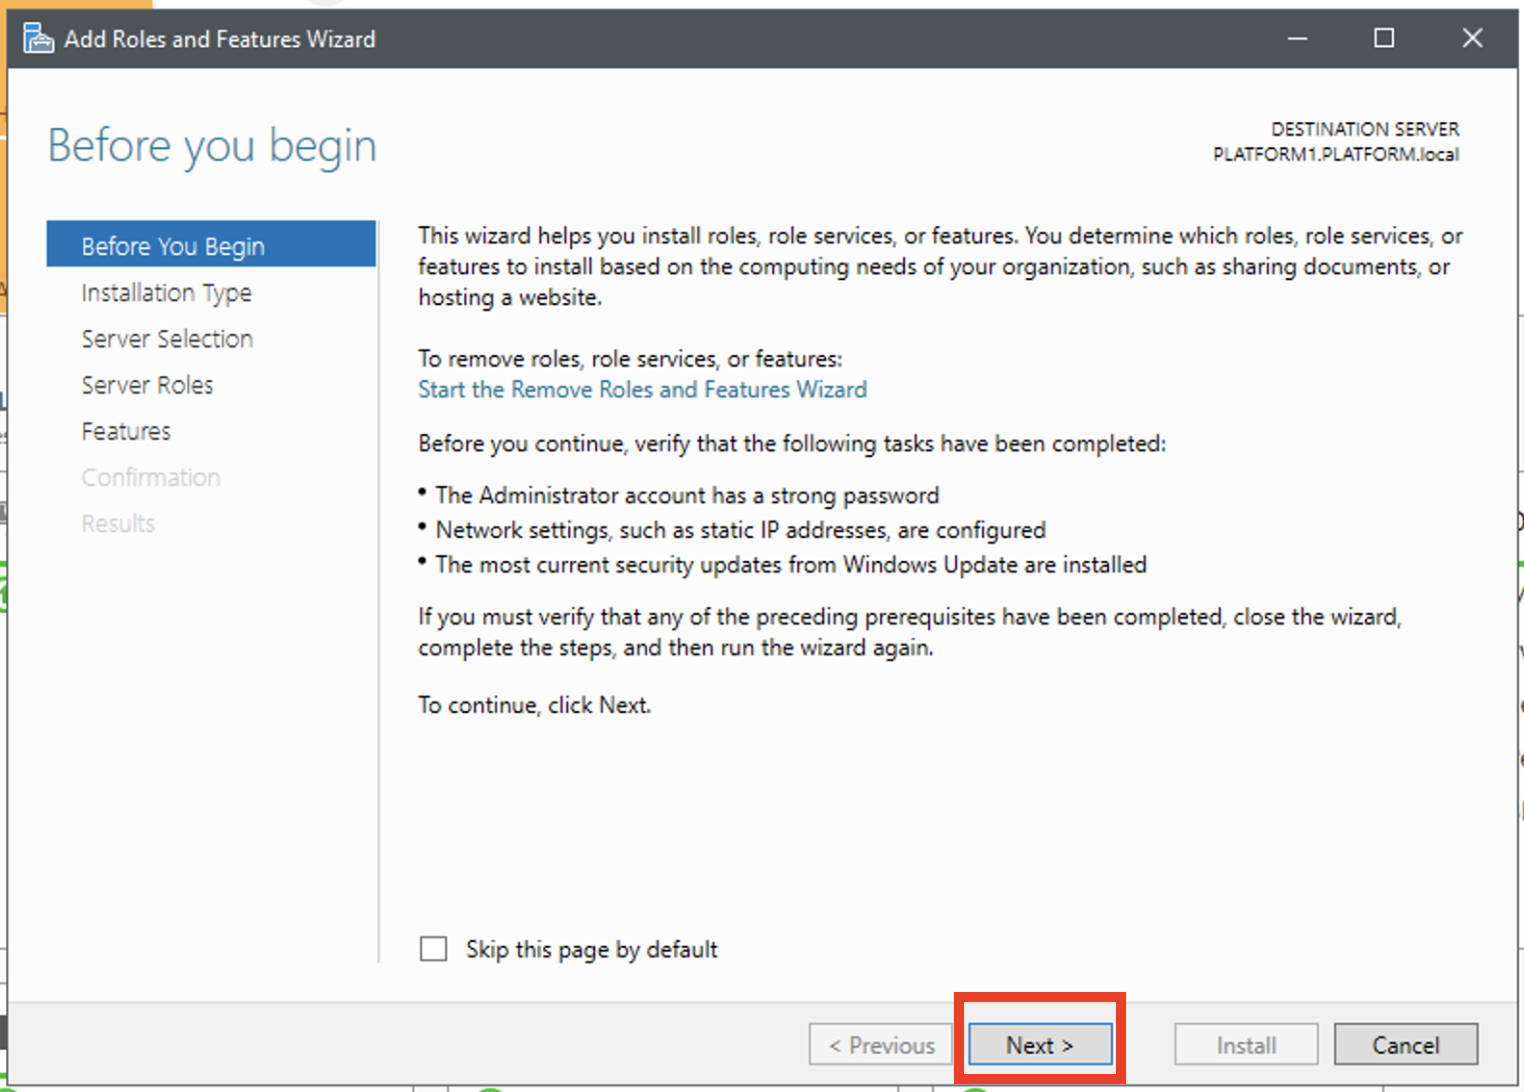
e. ) Click Install as it will be available when newly installing feature.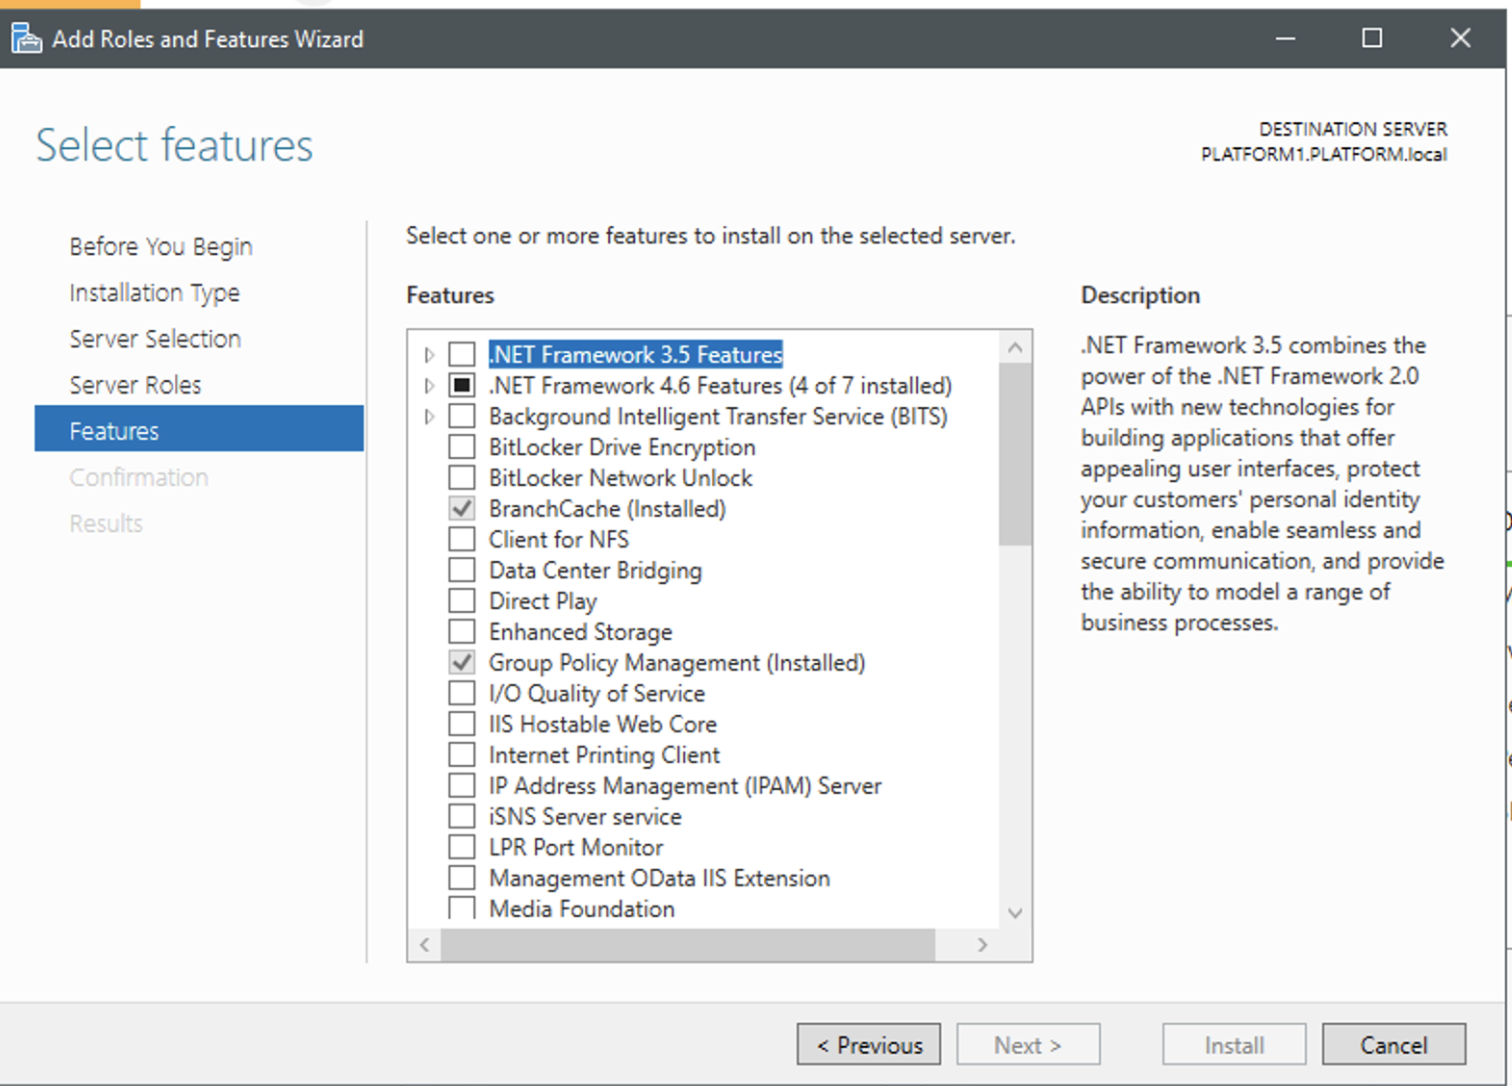
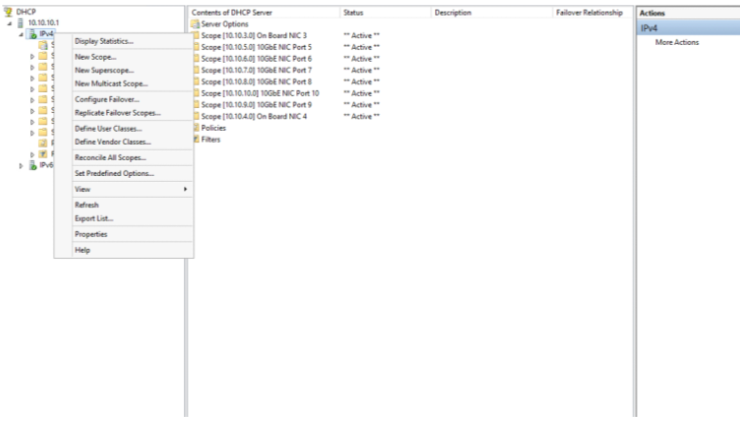
2. Expanding the tree with the IP address will show IPv4 and IPv6. Expand the IPv4 item. This shows all of the current scopes in place.
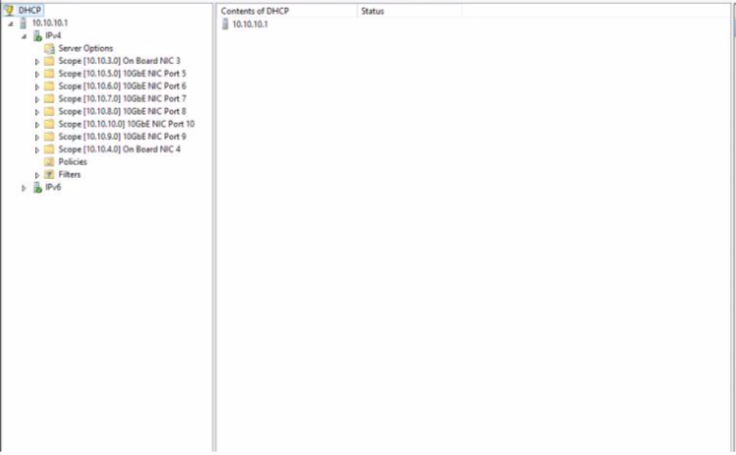
3. To create a new scope, right click the IPv4 tree and select 'New Scope'. This will bring up the wizard. Click Next and type the name of this scope. The default* is 10GbE NIC Port (port number), but the name does not matter. It just helps to visually identify the scopes in relation to their associated port. Click Next to finalize the name.
4. The next screen is where you tell the server the range of IP addresses that you want it to issue. Our default IP scheme is 10.10.(port number).100 to 10.10.(port number).150. I.E 10GbE NIC Port 3 will have an IP address itself of 10.10.3.1 and issue IP address of 10.10.3.100 to 10.10.3.150. The subnet mask for our scopes will be 255.255.255.0 (sometimes referred to as a length of 24
Enter the IP address range and click next. Leave the next window labeled 'Add Exclusions and Delay' will be left blank. Click next.

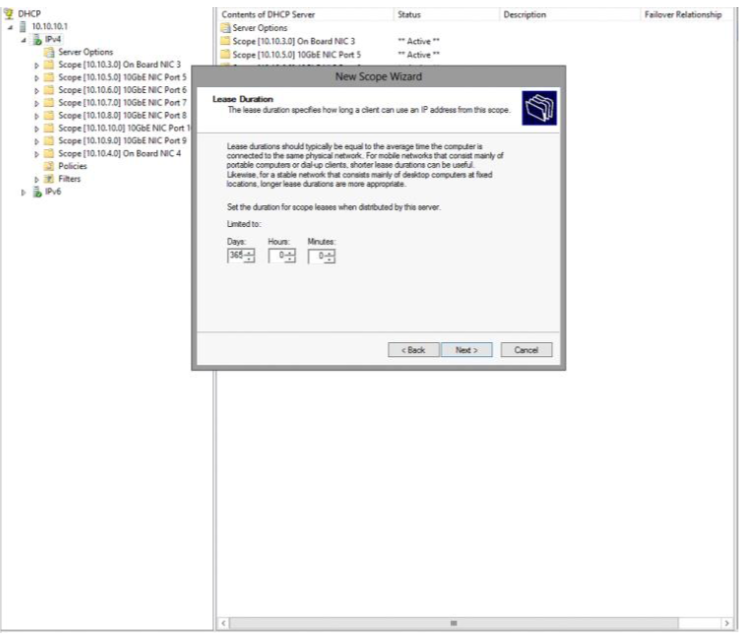
5. The next window configures how long a workstation will keep that IP address. Since this scope will only serve a small number of users, we can just put the lease age at 365 days. Click next.
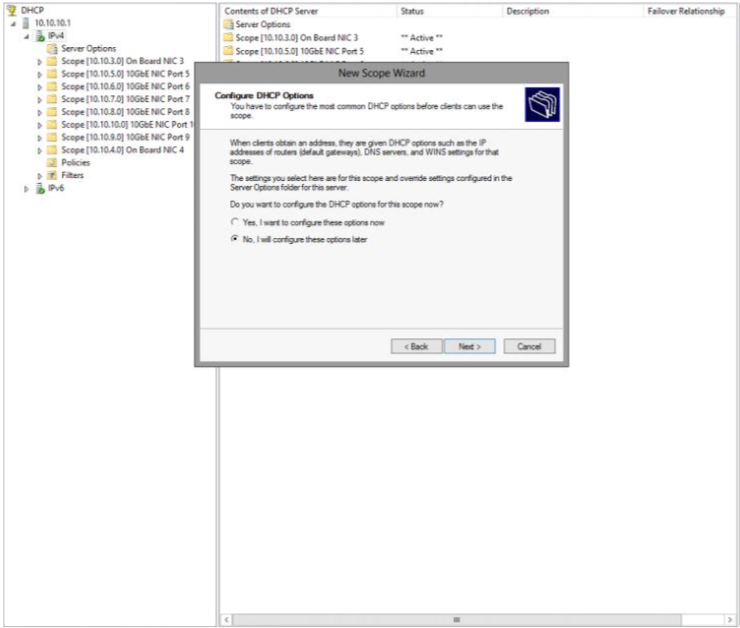
6. These additional DHCP options are of no use to us. Select 'No, I will configure these options later' and select Next. Then select 'Finish'
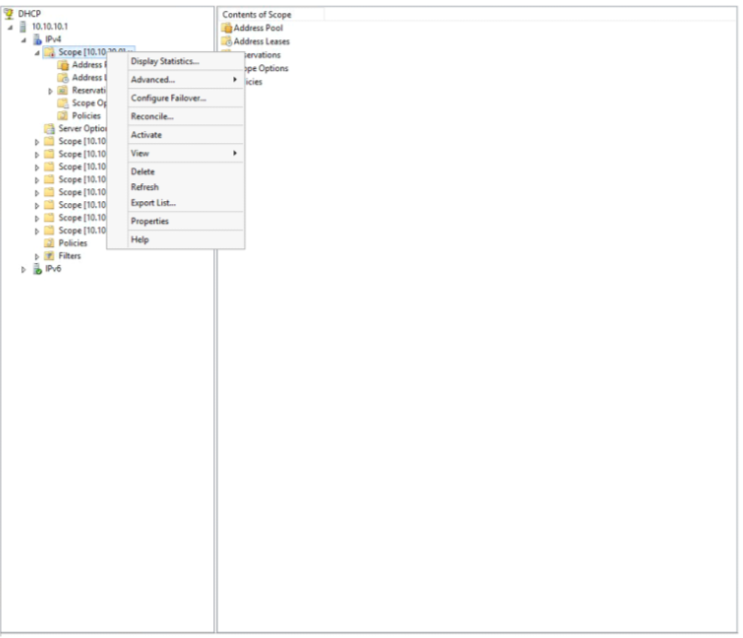
7. Now the scope is ready to be activated. Left click the new scope to expand it. Then right click it and select 'Activate'. Once this is done, the scope will be ready to issue IP addresses to workstations connected to 10GbE NIC Port 3
*If the system does not have 10Gbe ports, the default is 1GbE NIC Port (Port number)